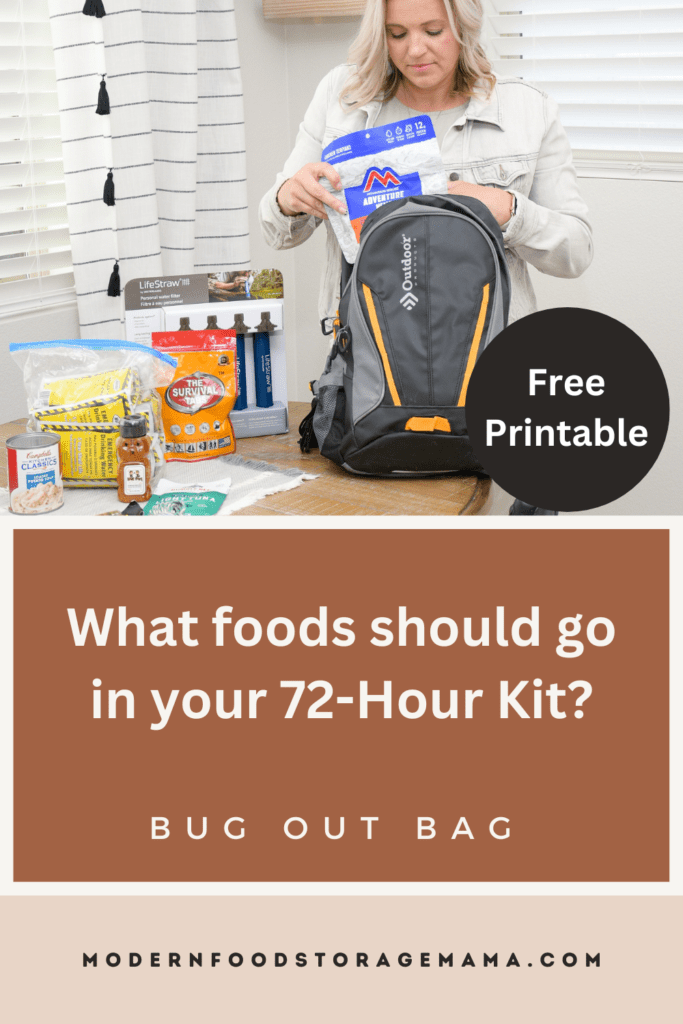
*This article includes a free printable guide to assist you in putting together your 72-hour kit (bug-out bag or evacuation bag)
Do you want to assemble 72-hour kits but you aren’t sure what foods to include? Well, my friend, you have come to the right place! I will guide you through choosing foods for your 72-hour kit that will provide nourishment and comfort for you and your family during an emergency.
When preparing your 72-hour kit, it is essential to include various food options. I recommend packing shelf-stable food items lasting up to a year and survival foods with a longer shelf-life. To maintain freshness, my family and I swap out the foods once a year, except for the long-term survival foods, which last for many years.
As you gather food for your kits, you must consider many factors, such as dietary restrictions, young children, and individual needs. If you have an infant, it is crucial to update your baby’s food in the 72-hour kit more frequently to ensure you have the right foods for your baby.
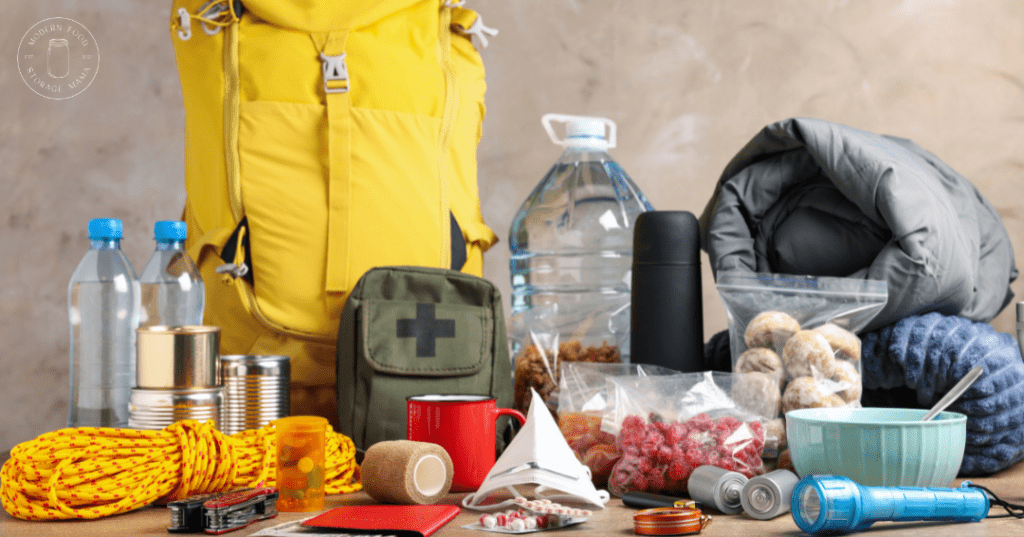
The purpose of a 72-hour kit, also known as a bug-out bag or evacuation bag, is to have quick and easy access to essential survival necessities should you ever be in circumstances where you need to leave your home very quickly.
*NOTE: You will find THIS post helpful as you start putting together your 72-hour kits. I have broken down the process into a 12-week challenge to help you finish your kits on a budget. I am here to help you each step of the way!
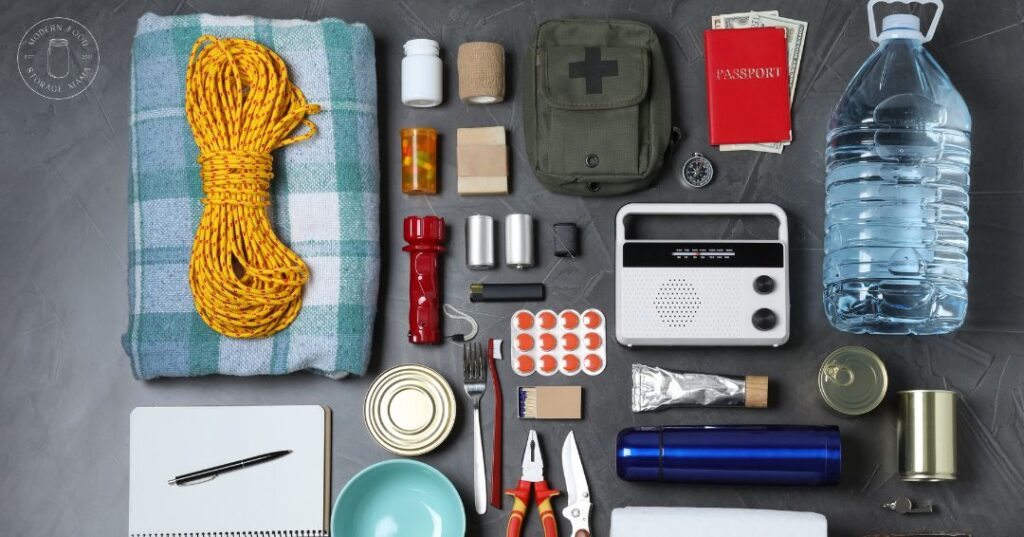
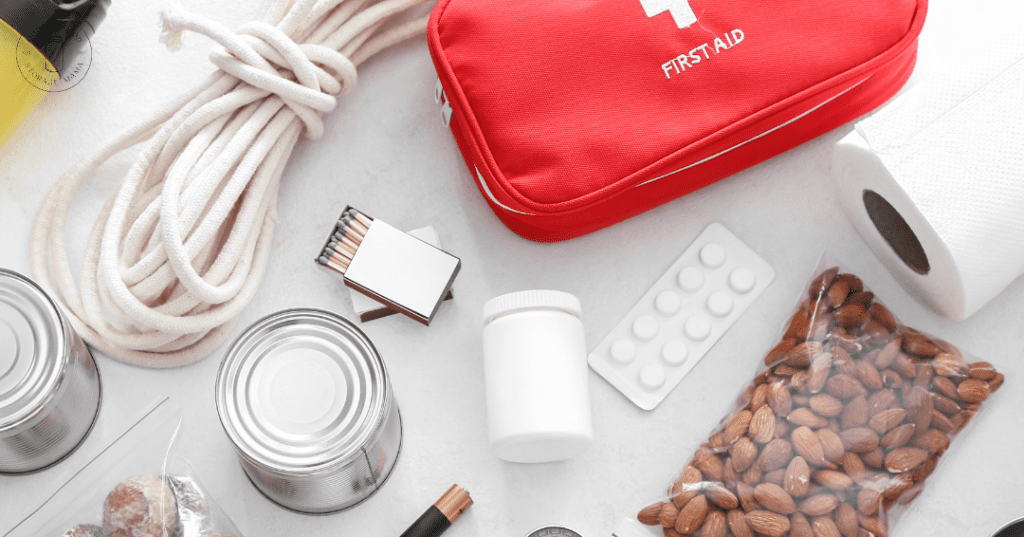
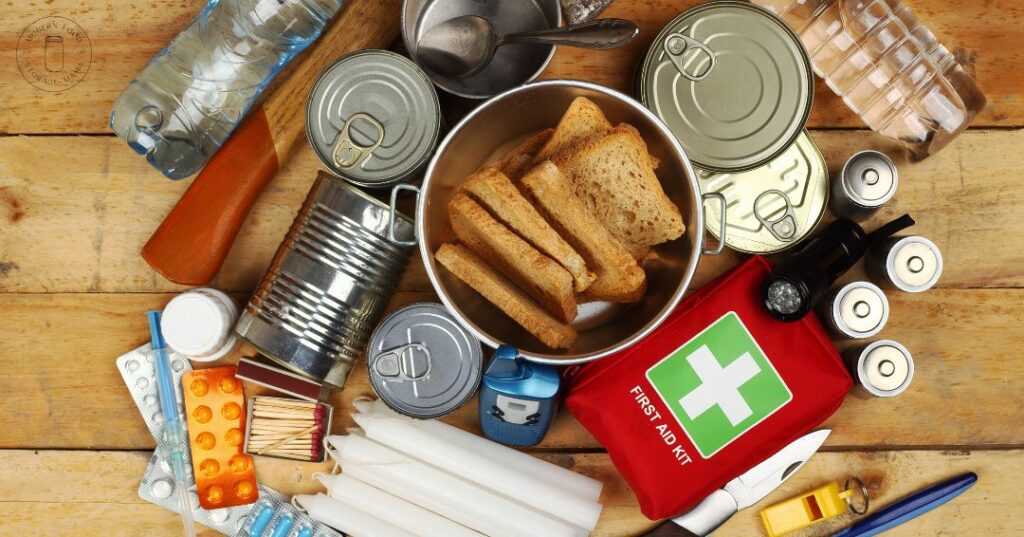
Emergency Foods for 72-Hour Kits
Water-
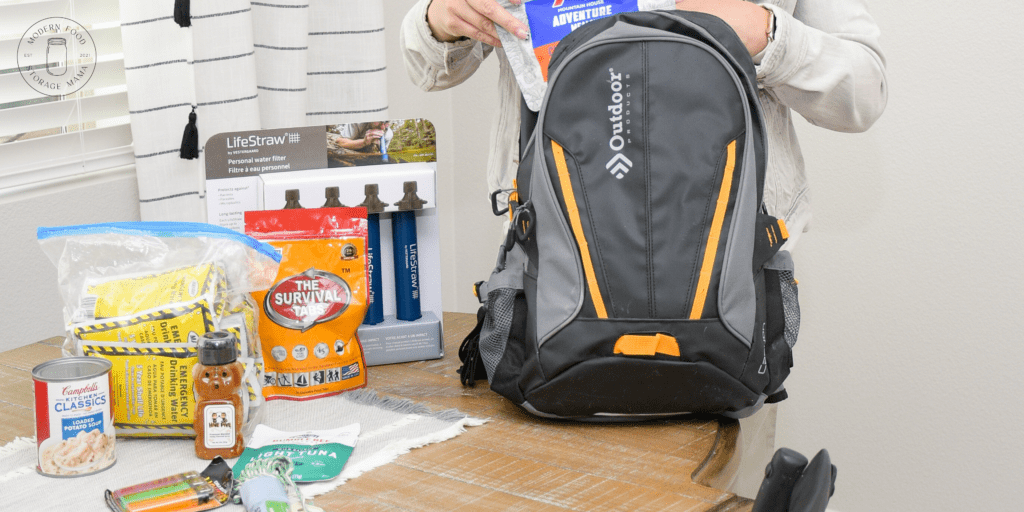
Water is essential for 72-hour kits, but it is challenging to pack water in them. I recommend having water and a water filtration straw. I recommend using water pouches in your kits; they are easy to stuff into small spaces and take up less room than water bottles. Water pouches have a five-year shelf life and will not break or crack if the water becomes frozen.
Electrolyte Mix-
Access to electrolytes can help replenish your body with vital minerals and nutrients you could lose through sweating or other physical exertion.
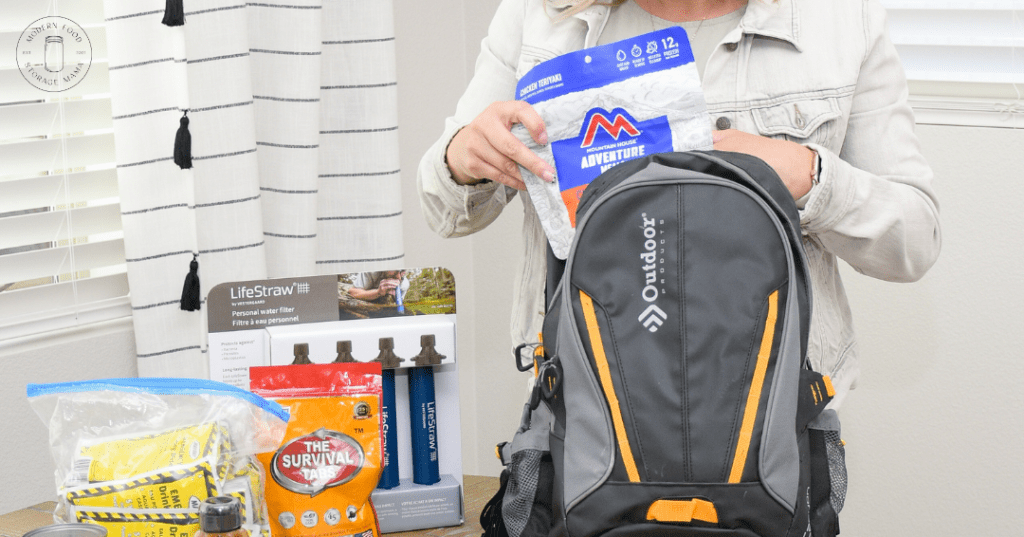
Survival Tabs- Survival tabs are meal replacement tabs with a 25-year shelf life. These tabs are non-GMO and gluten-free. Having these tabs in your 72-hour kit is a convenient way to get the nutrition you need in a compact form.
Canned Chicken and Crackers- Canned chicken and crackers are a good source of protein. These packets will provide a food option that feels more like a meal. Plus, they are easy to pack and transport.
Canned Fruit and Veggies– Canned fruit and veggies will provide vital nutrition and can be eaten straight from the can. You can also drink the liquid from the can to help keep yourself hydrated.
Canned Soup– Canned soup is a great way to have a high-calorie meal in your 72-hour kits. These are easily stored in your kit and are very portable. You could eat the soup cold if necessary.
Granola Bars/Fruit Snacks– Having snacks in your kits will provide you with comfort foods. In an emergency, you will want prepackaged foods. Quick snack foods with a long shelf life are great food items to add to your 72-hour kits.
Peanut Butter- Peanut butter will provide you with protein and healthy fats. You can enjoy it straight from the jar or in single-serve pouches.
Protein Powder Packets– Having packets of protein on hand in your kit will provide you with a quick and easy source of protein. Many protein powders are shelf-stable for 4-5 years, making these a great option to add to your emergency foods.
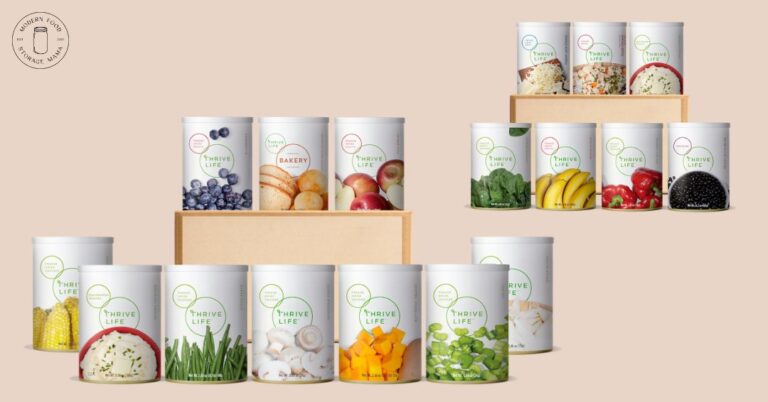
Freeze-dried Fruits/Vegetables- Freeze-dried foods have an extremely long shelf life when left unopened. You can store these foods in your 72-hour kits for decades, and then if you need to eat the food in your kit, you will have healthy fruits and vegetables to eat.
Freeze-dried Premade Meals- Premade meals will provide you with nutritious and easy meals in an emergency. You want foods in your kit that will provide you with dinner instead of only having snacks.
Hard Candy– Hard candy is a sweet treat you can add to your 72-hour kits. In an emergency situation you may need a quick source of sugar. Plus having a treat around in a stressful situation, especially for young children is a great idea.
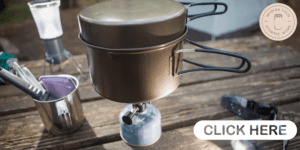
*If you plan to put food in your 72-Hour Kits that will require boiling water or heating the food, make sure you also include a small backpacking stove and cookware!
*I also highly recommend adding Life Straws for water filtration to your kits. You would use these to drink water from rivers, streams, lakes, etc.
*You can find a list of 72-hour Kit foods that can be purchased on Amazon HERE
Let’s discuss WHY having a 72-hour kit is a wise choice.
As you think about putting 72-hour kits together, you might ask yourself if it is worth all the work. It can be easy to get discouraged with a project like this and wonder if you will ever even need a bag like this.
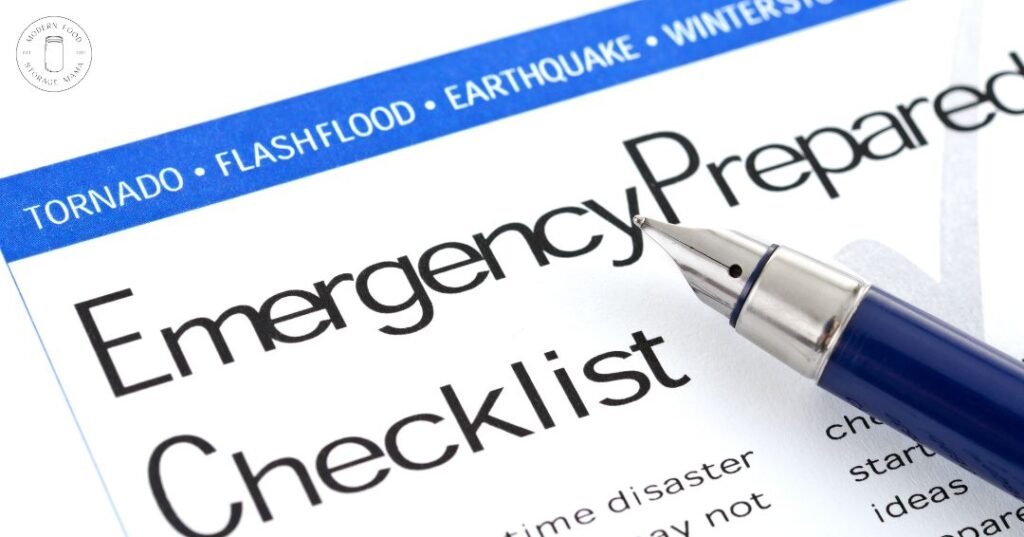
What are the possible scenarios where you might need a 72-hour kit?
- Personal Emergency: You could find yourself in a situation where you must leave your home quickly due to an emergency such as a medical emergency, house fire, gas leak, etc.
- Natural Disasters: In a natural disaster, you may need to evacuate your home within minutes. We could experience an earthquake, wildfire, hurricane, flood, etc. We never know when a disaster might strike.
- Local Crisis: In a situation with civil unrest, staying in your home or community may be unsafe. Having a 72-kit packed and ready can help you leave quickly and find a safer place.
- Shelter In Place: You could experience a natural disaster, such as a tornado, where you need to stay in your home. Having your 72-hour kit stocked with supplies would prepare you for a situation like this at a moment’s notice.
It is understandable to feel uneasy and nervous when contemplating the circumstances where you may need a 72-hour kit for the safety and security of you and your family. No one wants to think about being in a situation where they suddenly have to evacuate their home. However, it is impossible to predict whether or not we will ever face these types of events.
Preparing your 72-hour kits in advance can help you to stay calm and prepared in stressful situations. Customizing your kits to meet each family member’s specific needs is best. A 72-hour kit will provide the necessary supplies and food to keep your family safe and fed for three days.
Tips to consider as you stock your 72-hour kits with emergency foods.
-Keep your food in a cool, dry place that is easily accessible so that you get to it quickly in an emergency.
-Pack utensils, a can opener (if you have canned goods in your kit), and other necessary tools for preparing your food.
-If you or someone in your family have dietary restrictions, include food items that meet those needs.
-Label all of the food items with the date of purchase and ensure you know the expiration date.
It is crucial to rotate the foods in your 72-hour kits regularly. You want to avoid going through all the hard work to put a kit together to have your food expired when needed. It is challenging to keep updating the food in the kits, we are all busy, and once the kits are complete, you must remember to rotate your foods.
I suggest signing up for my email list, where I will send you my FREE 72-Hour Kit Guide. I will also send you reminders to update your kits.
Creating your 72-hour kits for you and your family can feel overwhelming. Remember, each tiny step is a step towards being more prepared than you were yesterday! Having something prepared for emergencies is far better than having nothing prepared.
It is optional to purchase everything all at once.
If your budget allows, bust out your 72-hour kits immediately. But remember, doing this project one step at a time is totally ok!
I have created a free printable to assist you in putting together the food items for your 72-Hour Kits, you can download the printable HERE!
Let’s Chat!
I love when I get to hear back from you. I would love to chat with you. If you have any questions or resources you are looking for, please contact me.
You can find me on Instagram @foodstoragemama. On the gram, I share simple recipes, grocery budgeting tips, ideas for stockpiling your food storage, and more.
You can also follow along on the Modern Food Storage Mama Facebook page!
I am so happy to have you here on modernfoodstoragemama.com.
XOXO,
Brittany


2 Responses
Thank you for the information. This is such a blessing and really needed education. I am truly grateful for this guide as I felt the need to prepare but I didn’t know where or how to start.
🫶🏽
Thank you! I’ve been doing it half way then got deterred because people said why. And the whys seemed to out way the why nots until I saw you on instagram and then it hit why not. It looks like you’re in CA and I’m in NorCal so I thought maybe I should do it again. Thank you for giving me the encouragement.