
WEEK ONE: 72-Hour Kit Challenge
Hi friend! I’m excited to help you build emergency kits for you and your loved ones. I understand how overwhelming it can feel to assemble these kits. I’m here to break it down into manageable tasks.
Instead of attempting to complete this daunting task on your own, I will guide you through a 12-week challenge. I’ll suggest items to purchase or find around your home every week. I’ll also provide tips to help you assemble 72-hour kits on a budget. Each week, I’ll recommend items that cost $25 or less so you won’t have to break the bank to prepare.
If you join the challenge partway through or need to catch up, don’t worry. You can work through it at your own pace. If $25 a week is too much for your budget, set a weekly budget that works for you and buy what you can.
Remember, having some preparations is better than nothing at all. Every item you add to your kits will increase your level of preparedness.
Week One: Preparing Your 72-Hour Kits with Items from Home
We’ll start this week by collecting items that can be used for your 72-hour kits. No need to purchase anything yet!
Instead, save $25 this week for next week’s spending. We’ll take things one step at a time.
The first step is to find a decent-sized empty box and write “72-Hour Kits” on it. Place it somewhere visible to serve as a daily reminder to work on your emergency kits and to start filling up the box with supplies from around your house and those we will purchase later.
The goal of this 12-week challenge is to help you prepare two adult-sized kits. However, I encourage you to search your home for items like clothing/supplies/food to add to your children’s emergency kits. Make it a family project and involve your family as you work through the challenge.
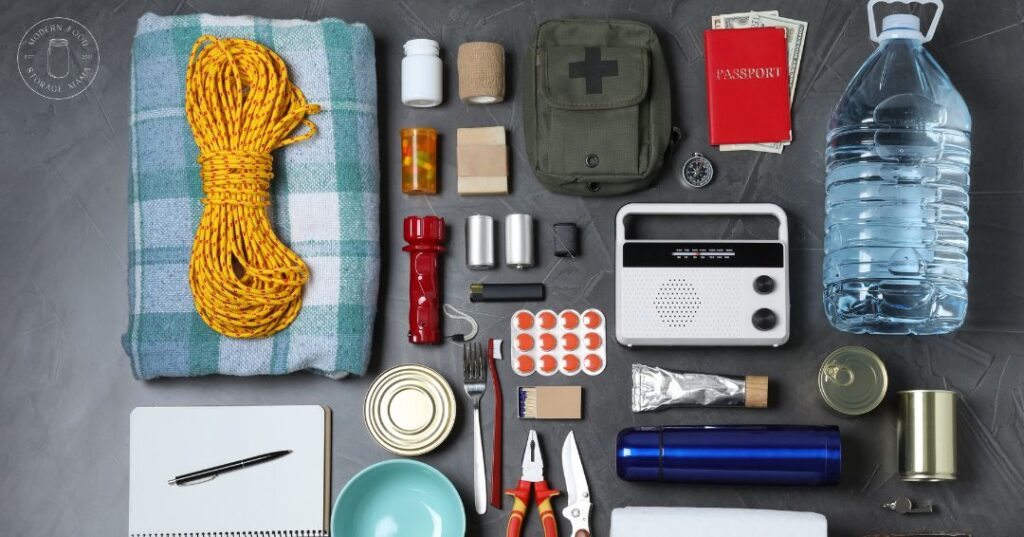
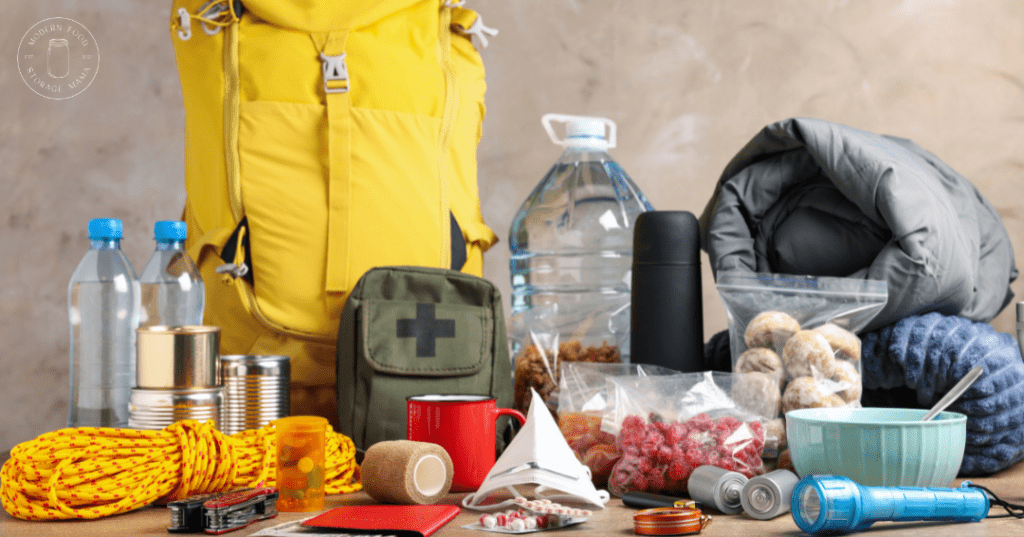
Now, let’s search your home for these items:
Important Note: Please do not buy any of these items this week. Feel free to add them to your box if you already have them at home.
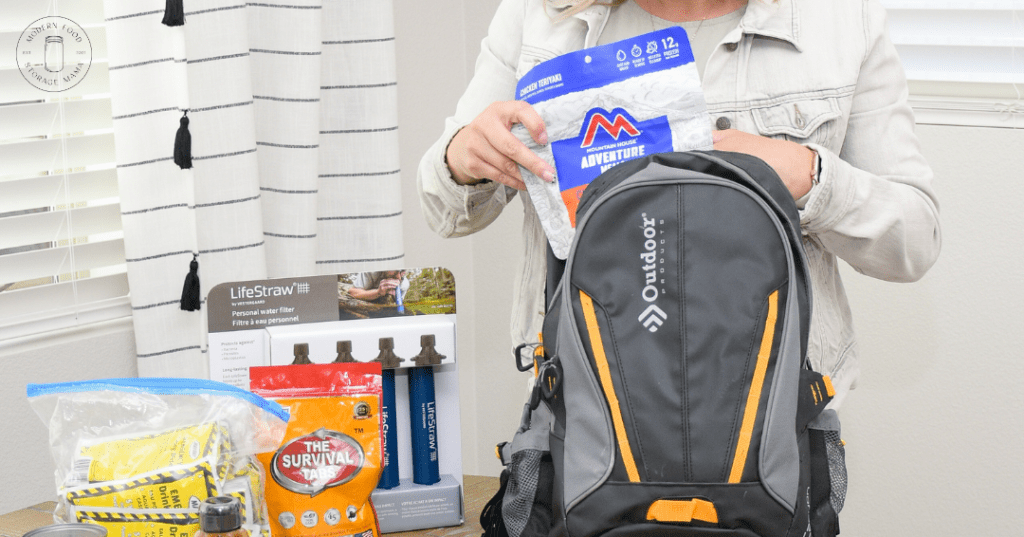
- Backpacks or duffel bags (look for sturdy, unused bags)
- 5-gallon buckets (more on this later)
- Flashlights
- Sweatshirts and sweatpants (pull-out clothes you no longer wear but that fit you)
- T-shirts (two)
- Sturdy shoes
- Socks (two pairs, even if they are mismatched)
- Underwear/bras
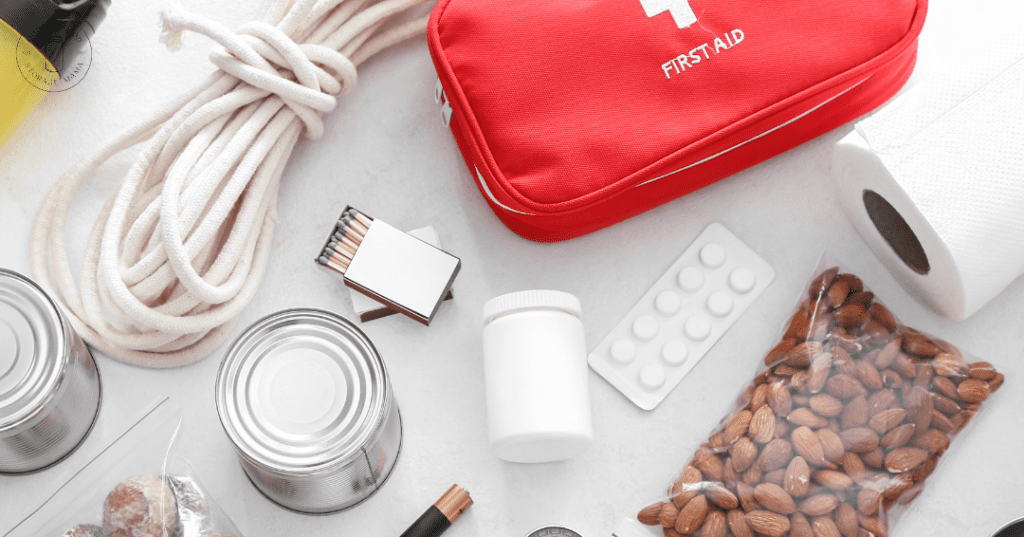
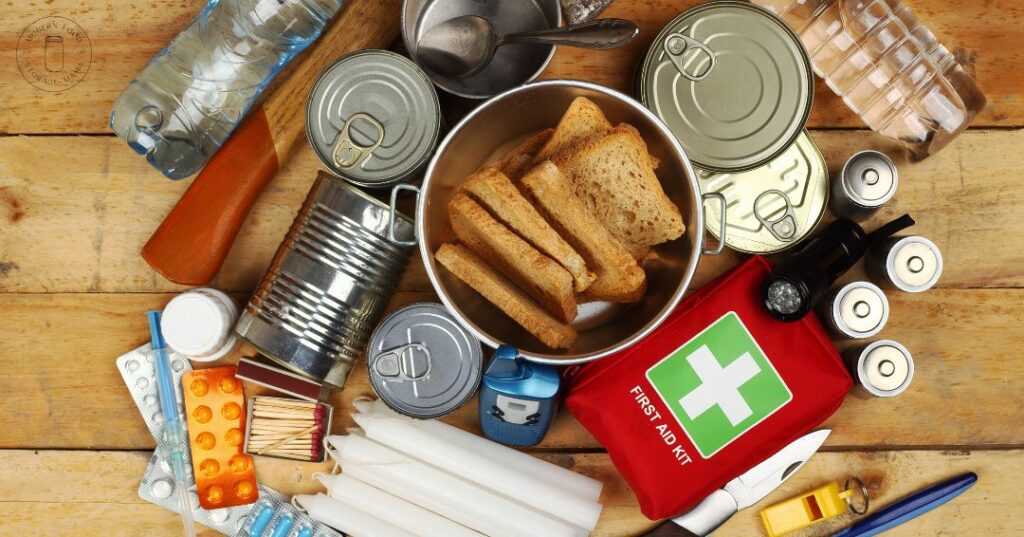
- Canned fruit/soup/vegetables
- Granola bars/fruit snacks/fruit leather
HERE is a Free Printable List to Keep You on Track with Weekly Tasks!
To help you stay on top of your weekly tasks, I’ve created a printable list that you can use as a reminder to keep working on this project. I suggest you print the list and put it on your fridge, or somewhere else you will see it daily.
Feel free to share my 72-Hour Kit Guide and weekly printables with your friends and family. Please spread the word about my website and email list when you share.
HERE is the link for you or your friends/family to sign up for my email list. When someone signs up for my email list, the very first email they get from me will include my Free Food Storage Guide!
If you are reading this post but do not yet have my Free 72-Hour Kit Guide, you can sign up for my emails, where I will send out the free guide/printables/etc.
Also, if you are on my email list but for some reason have yet to receive the email with the Free 72-Hour Kit Guide, please email me at brittany@modernfoodstoragemama.com, and I will help you!
We can do this together, my friends! Let’s update our 72-hour emergency kits one step at a time. I’ll be working on this project, too, so we can support each other along the way. Remember to follow along on Instagram and Facebook for weekly tips and ideas to help you with this project.
xoxo,
Brittany
Just a quick note- check out THIS POST for helpful information on emergency foods you may want to consider adding to your kit!


19 Responses
Do we sign up somewhere for the challenge?
Hi!! Thanks so much for your interest in the 72-Hour Kit Challenge. Are you on my email list? If so you should have received a copy of my new Free 72-Hour Kit Guide. Here is the link to sign up, you can copy and paste-
https://modernfoodstoragemama.myflodesk.com/foodstoragemamafreeguide
Add me to your mailing list
Have you been able to go to the home page of the website? On the home page there is a spot to subscribe to my Free Food Storage Guide. When you sign up through that link, it will add you to my email list.
Hi! Thank you so much for visiting my site and for your interest in my email list. Here is the link to sign up for that- \https://modernfoodstoragemama.myflodesk.com/foodstoragemamafreeguide
Please add me to your email list
Hello! Thanks so much for your messsage. Here is the link to sign up, you can copy and paste the link-
https://modernfoodstoragemama.myflodesk.com/foodstoragemamafreeguide
Add me to your list please.
Hi! Thanks so much for visiting my site and for your interest in my email list. Here is the link you can copy and paste to sign up!
https://modernfoodstoragemama.myflodesk.com/foodstoragemamafreeguide
Thank you for this helpful guide! Our family’s new year resolution is to have a better food storage and 72 hour kits for the whole family, we also wanted to create a staging area for these things. Your timing is perfect!
Hi! Thanks so much for your interest in my free guides and for visiting my site. I love that emergency preparedness is a goal for you and your family!
Please add me to your mailing list
Hello! Thanks so much for your comment. Were you able to find the link to sign up? Here is the link you can copy and paste-
https://modernfoodstoragemama.myflodesk.com/foodstoragemamafreeguide
Thank will start big out bags for husband and I . I think we would use the if. The area around us was on fire and the house was burning. Also to put near our tornado shelter.. which thank goodness we haven’t had to use.
Hi! Thanks so much for your comment. I love that you are getting your kits put together. Having your kits ready for your tornado shelter is such a good idea!!
Add me to your email list please.
Hi! Thanks for your comment. Have you gone to the home page of my website where you can sign up for my Free Food Storage Guide? When you sign up for this free guide you will be added to my email list!
If you can’t find the page, here is the link you could copy and paste- https://modernfoodstoragemama.myflodesk.com/foodstoragemamafreeguide
Love everything about this and we are very excited to make our kits. Thank you so much for a much needed area of preparation for unexpected emergencies!
Hi Nancy! Thank you so much for your comment and for following along with this 72-hour kit challenge. I appreciate you visiting my site!