WEEK FIVE: 12-Week 72-Hour Kit Challenge
*This post includes a free printable for week 5 of the 72-Hour Kit Challenge!
Well, HELLO!
If you are new to modernfoodstoragemama.com, welcome, and if you have visited my site before or are following along on Instagram, thanks for being here, friend!
My name is Brittany. I want to show you how you can build a 72-hour kit, also called a bug-out bag, go-bag, or evacuation bag, on a budget. I have created a FREE 72-Hour Kit Guide to help walk you through this process. Here on my website, I am breaking down how to build your kits over 12 weeks. You can sign up for my FREE 72-Hour Kit Guide HERE!
*The first email I will send you will be my FREE Food Storage Guide. I will also send you the FREE 72-Hour Kit Guide in an email. If, for some reason, you do not receive an email from me or don’t receive the email with the 72-Hour Kit Guide, please email me at brittany@modernfoodstoragemama.com.
In this article, we will discuss several items I suggest adding to your bug-out bags (72-hour kits). If you are brand new to hearing about this 72-Hour Kit 12-week challenge or if you are researching what to put into your bug-out bags, no worries; you can jump in and start this challenge anytime. First, sign up for my FREE 72-Hour Kit Guide and then start working on your kits one week at a time. Below, you will find links to the other weeks of this challenge.
You will find the info & weekly printable for the other weeks of the challenge here:
WEEK ONE
WEEK TWO
WEEK THREE
WEEK FOUR
WEEK 5–
Congratulations on reaching week 5 of the 12-week 72-hour kit challenge! We’re making great strides, and your emergency kits will be ready in no time. Wahoo!!
Right now is the time when many people give up on challenges. But I believe you are NOT one of those people and will not give up on this project. You started this project because you know how important it is to prepare for emergencies. You want to have emergency 72-hour kits for yourself and your family because you understand the significance of being prepared for unknown emergencies that could arise. You also want to ensure your family is cared for during a crisis.
So, friend, let’s keep working on your preparedness goals! Having your 72-Hour Kits completed will bring you so much peace of mind.
This week, let’s add two crucial items to your kits AND search your home for specific medications to add to them.
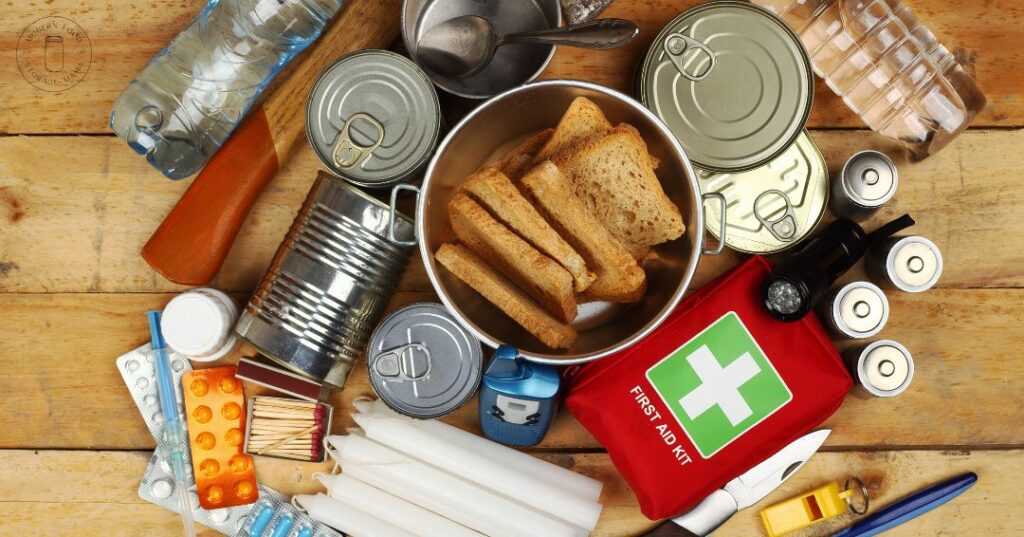
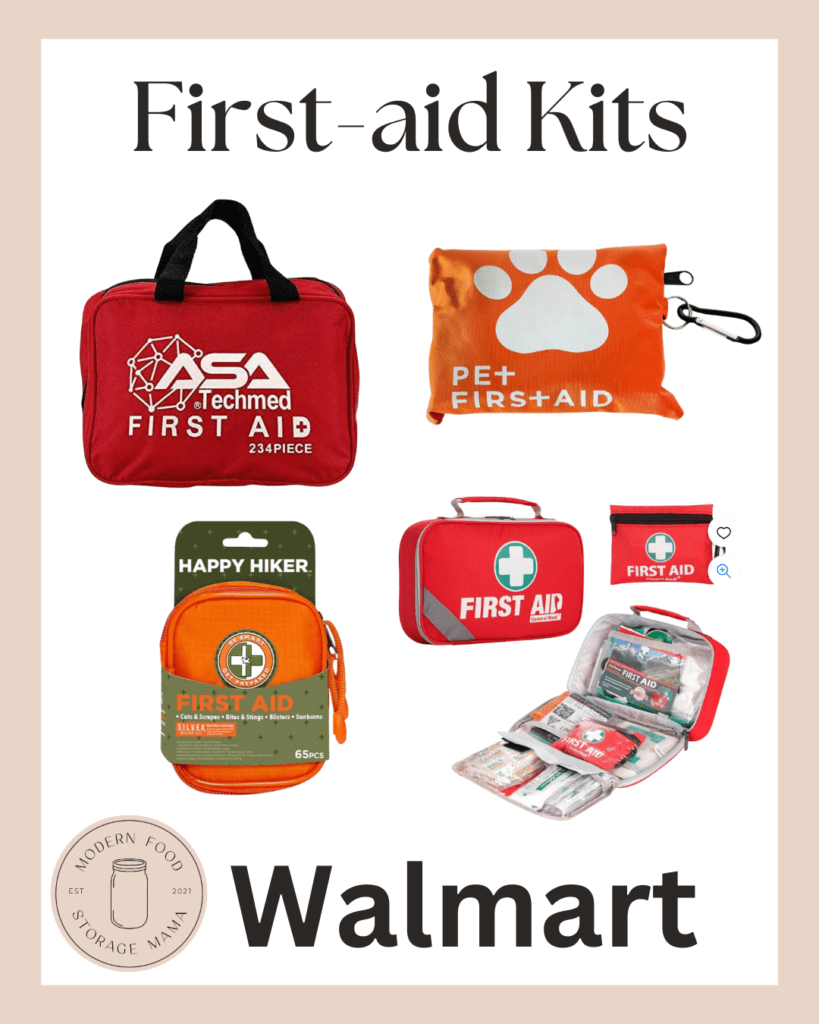
For week five of the 12-week 72-Hour Kit Challenge, I encourage you to purchase (or find in your home) a first aid kit and a flashlight.
*I also encourage you to look for these items in your medicine cabinet to add to your kits:
- Prescription Medications: Ensure you have an ample supply of prescription medications you or your family take regularly. Check the expiration dates and rotate them as needed.
- Over-the-counter Medications: Include common over-the-counter medications to treat minor ailments, such as pain relievers, antacids, antihistamines, and cold medicine.
- Allergy Medications: If anyone in your family has allergies, include their allergy medication, such as an EpiPen for severe allergic reactions.
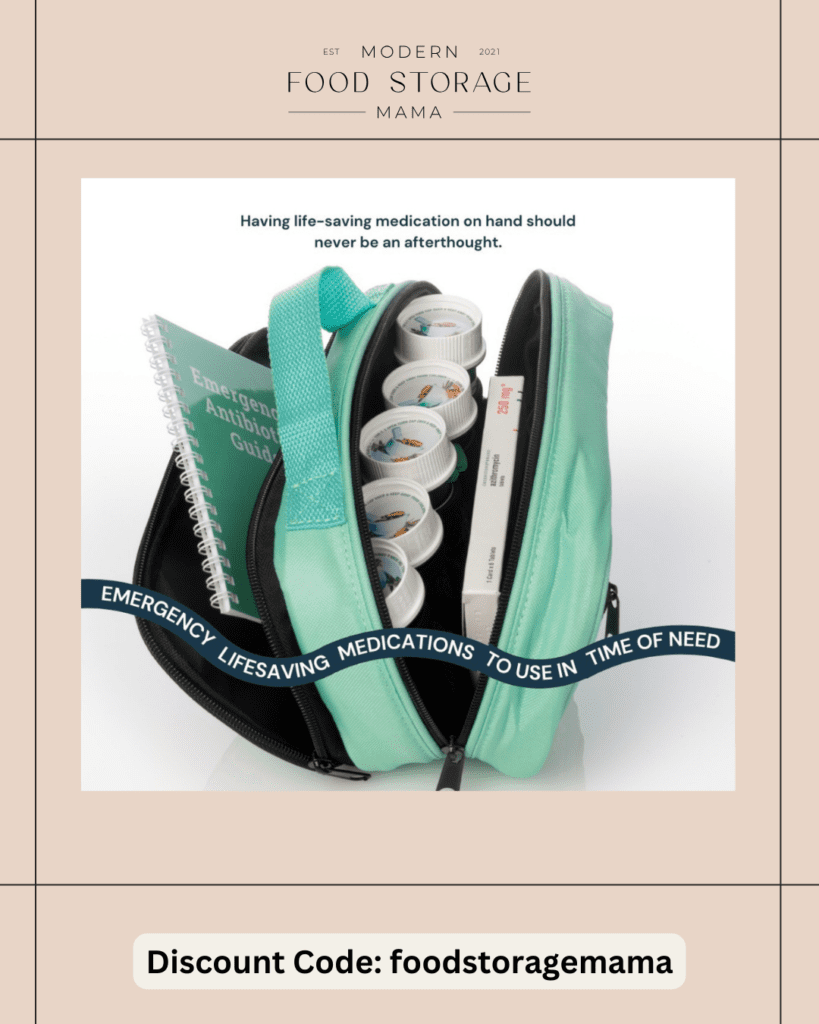
*For my family, we have purchased a JASE CASE for our emergency medication needs. We have antibiotics as well as other medications. We have these medications in adult dosage as well as for our children. Jase Case also offers the option to stock up on specific prescription medications. You can learn more on their website www.jasecase.com. My code FOODSTORAGEMAMA will save you $10 off each Jase Case you purchase.
By including these medications and supplies in your emergency kit, you can be better prepared to handle any health-related situations during an evacuation or shelter-in-place scenario. Regularly check and update your kit to ensure everything is current and ready to use in an emergency.
WEEK FIVE PURCHASES:
Here are some affordable first-aid kits I have found for you to look into.
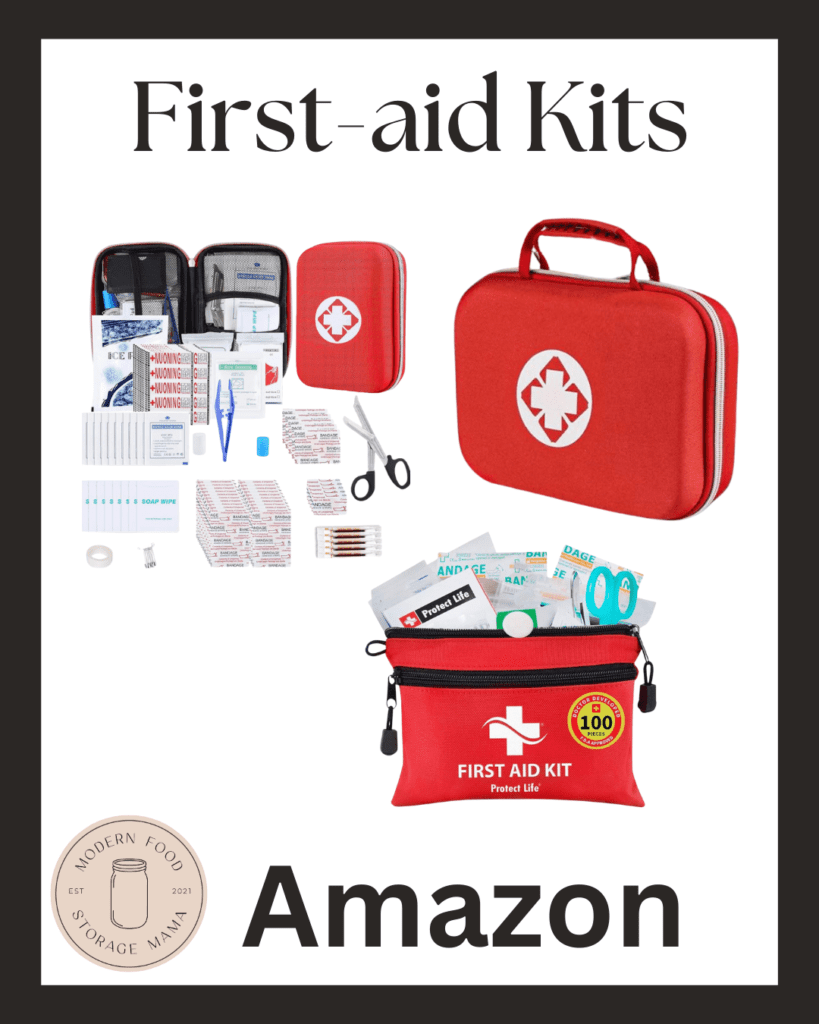
*Scroll down further in this article to learn more about what supplies you need for a first aid kit for your 72-Hour Kits (bug-out bags).
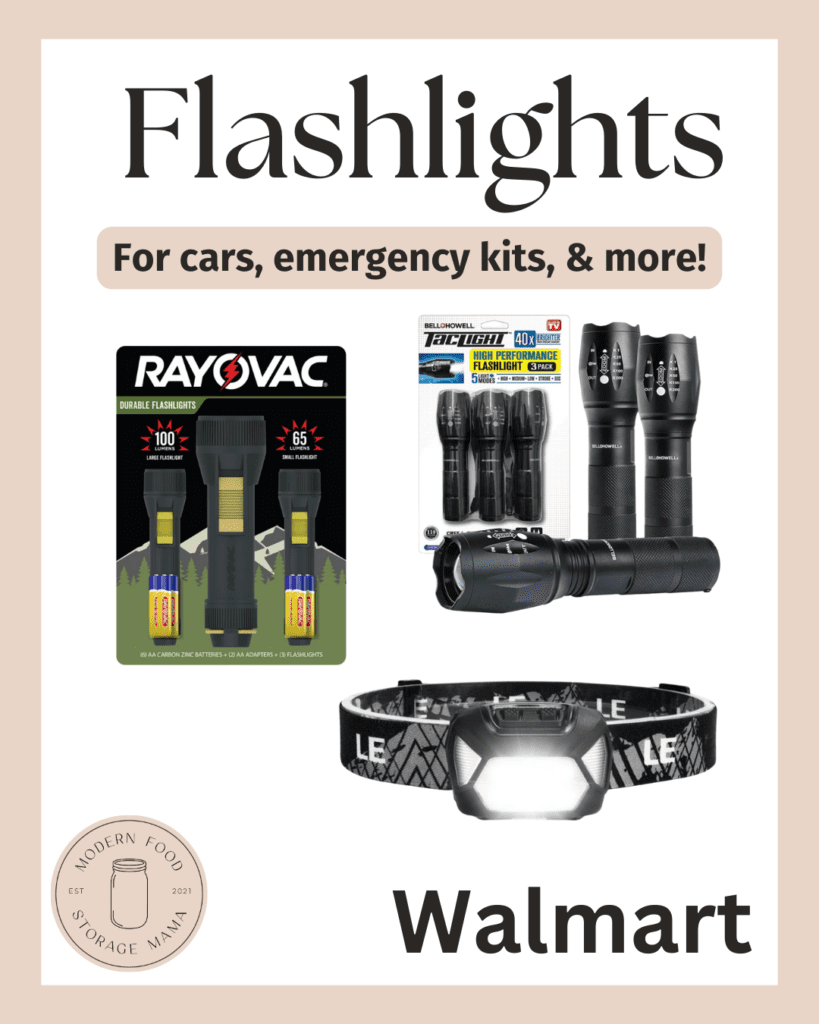
And here are some affordable flashlights I have found for you.
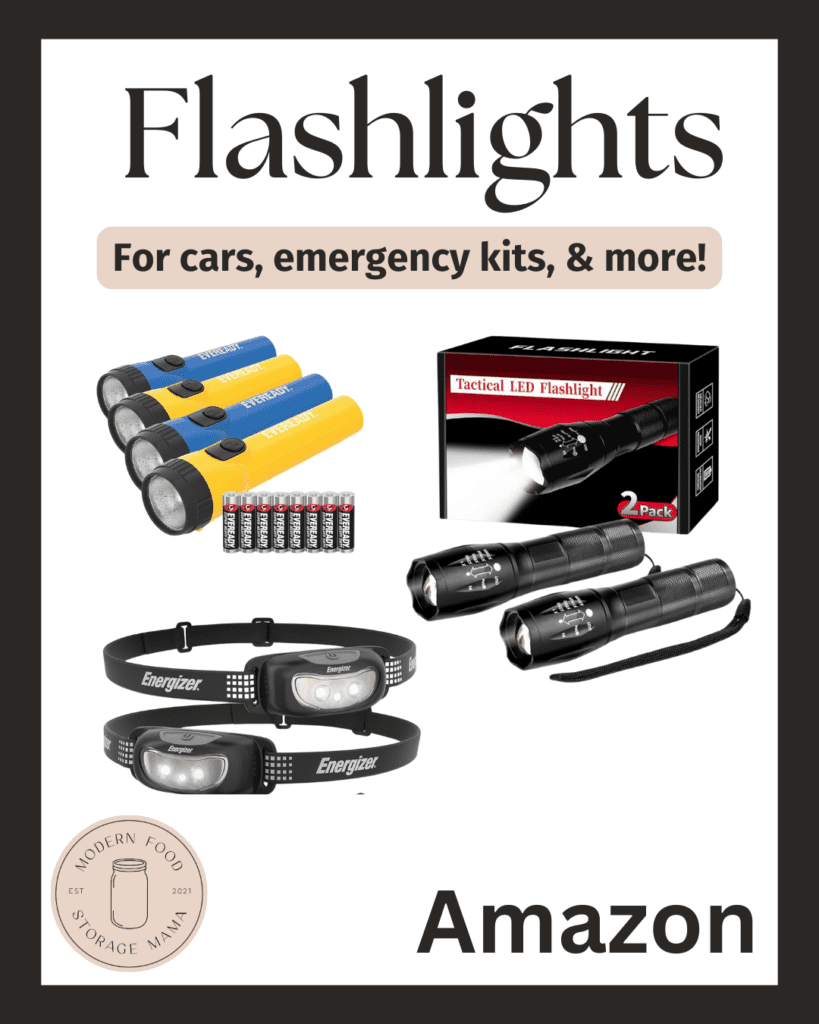
*Scroll down further in this article to learn more about flashlight options for your kits.
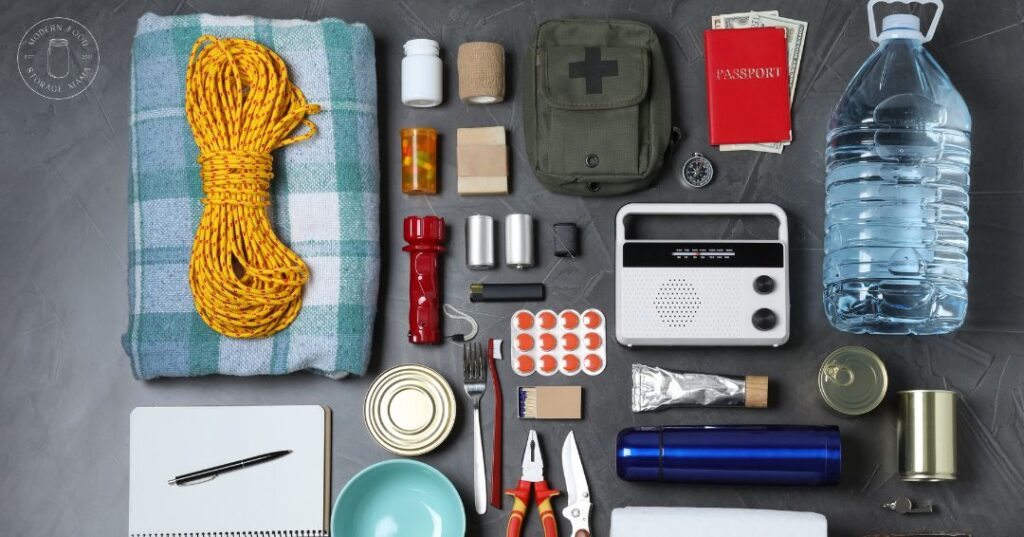
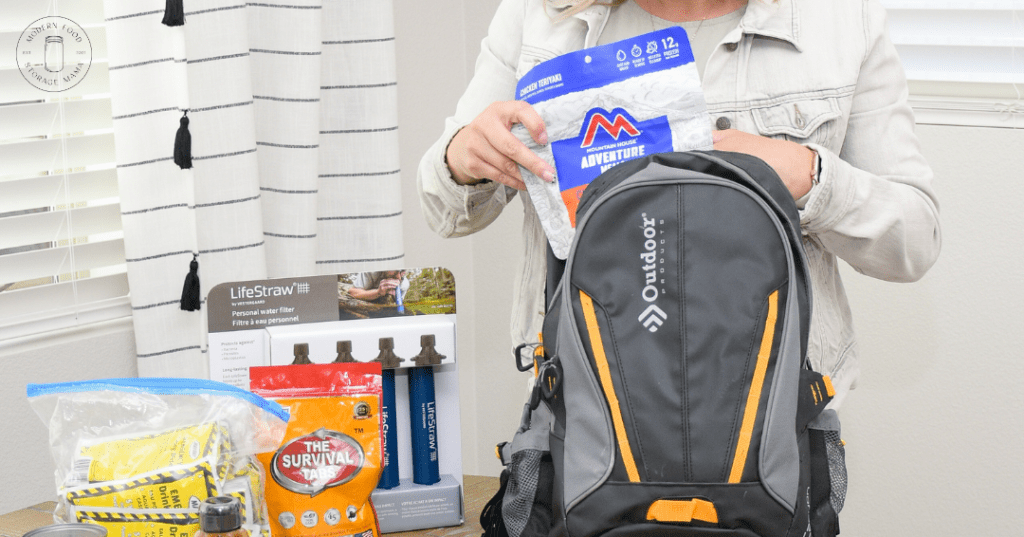
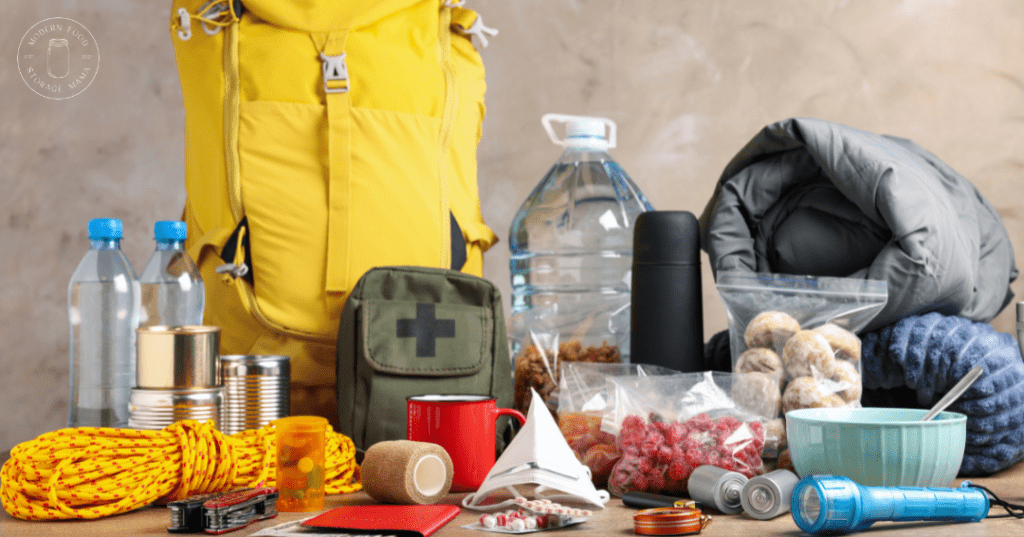
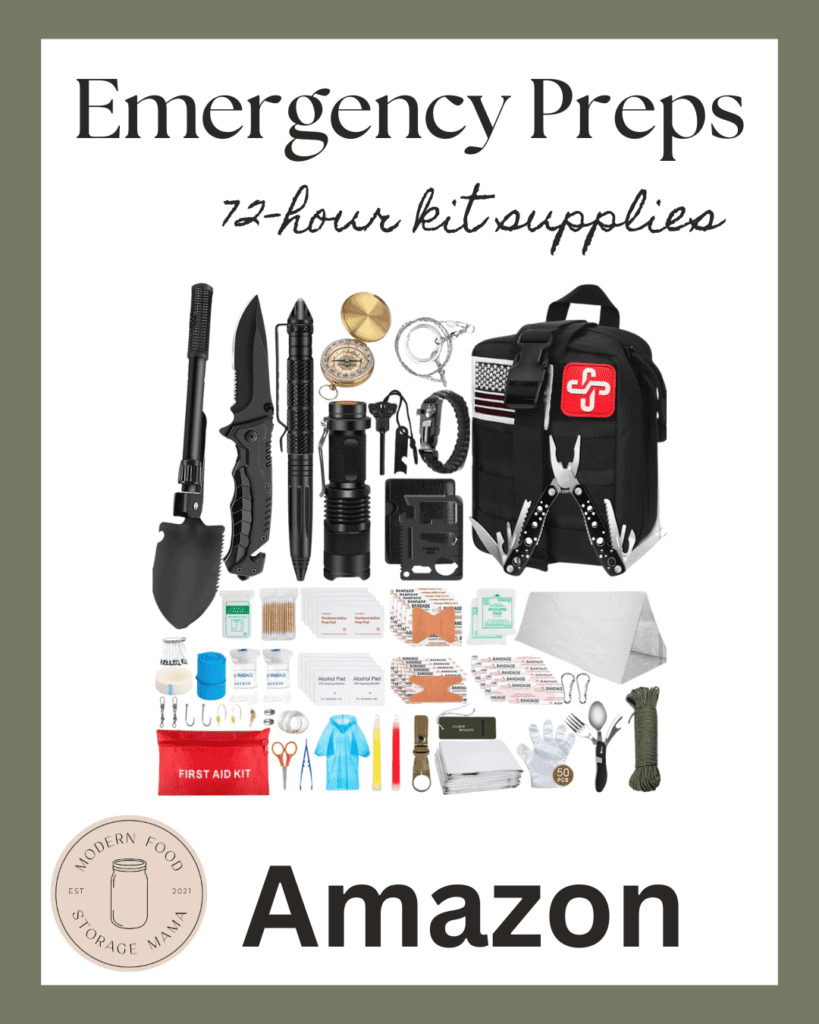
I am going to share this last option for you to consider if your budget allows. I like this Emergency Kit because it comes with so many items you need for your 72-Hour Kits, it is reasonably priced, and it includes our purchases for week five of the challenge: a first-aid kit and a flashlight.
Remember, our goal is to stay within the weekly budget and spend $25 or less on supplies per week throughout this challenge. Some weeks, you will spend less because you already have the items at home.
And there might be weeks when you can spend over $25 on supplies for your kits.
Always start by searching your home for supplies!
By adding supplies you already own in your kits, you’re not getting rid of them; you’re just making them more accessible when needed. If they are stored safely in your kits, you always know where to find them!
You can customize this challenge to suit your needs. You get to decide what goes into your kits. If I have suggested something you disagree with, feel free to skip that item. There are specific items that every 72-hour kit should have, but I also understand that preparing something is far better than having nothing.
Let’s not let the pressure of perfectionism hold us back from starting on our emergency preparedness goals. My goal with this challenge is to encourage you to START and to keep working on your kits gradually.
If you need more time or can’t purchase all of the items weekly, I suggest you:
-Consider spreading this out further and buying items every two weeks.
-Do what your budget allows.
-Keep going even if it takes way longer than 12 weeks!
Now, let’s chat more about Firstaid Kits and Flashlights!
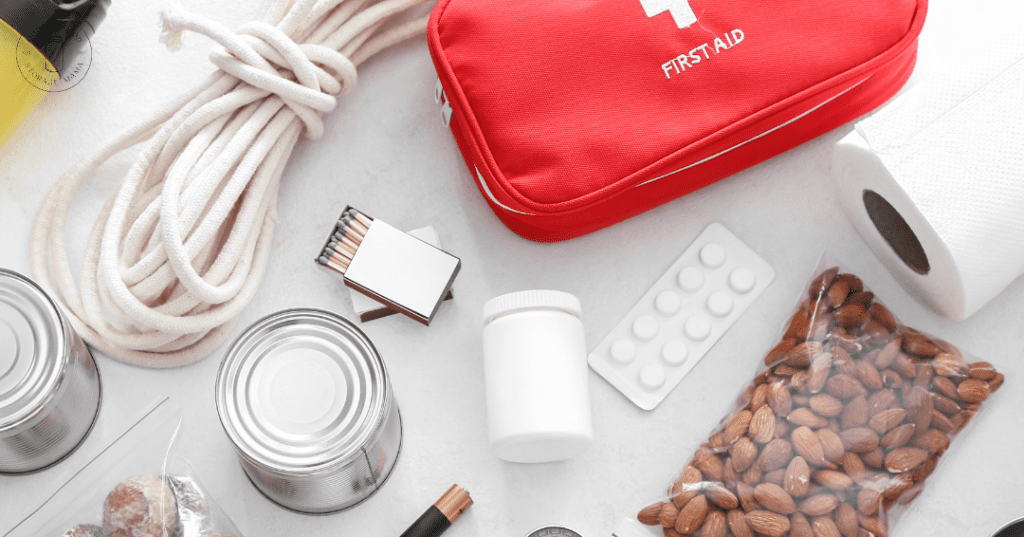
Stocking a first aid kit in your 72-hour evacuation bag is crucial for addressing any minor injuries or medical needs that may arise during an emergency. When assembling your kit, aim for something compact and lightweight, making it easy to carry wherever you go.
In terms of specific first aid supplies, some essentials for your 72-hour kit include items like:
-adhesive bandages
-gauze pads
-antiseptic wipes
-adhesive tape
-scissors
-tweezers
-gloves
-pain relievers
-personal medications
These supplies can help you treat minor cuts, scrapes, burns, and other injuries that may occur during an evacuation or emergency scenario.
Remember to periodically check and update your first aid kit to ensure that all supplies are in good condition and nothing has expired. Being prepared with a well-stocked first aid kit can give you peace of mind and the ability to provide basic medical care when needed most.
Set a reminder on your phone or calendar to inventory your supply kit six months from now. By checking your kit every six months, you can ensure that your medications and foods are up-to-date.
Flashlights are essential for your 72-hour emergency evacuation kit for several reasons. They provide portable and reliable light sources, which are crucial during power outages or when moving in dark or low-light conditions. In emergencies, having a flashlight can help you navigate safely, signal for help, or locate essential items.
LED flashlights are a good choice due to their energy efficiency and long battery life. To withstand various emergency scenarios, make sure to select compact, lightweight, and water-resistant flashlights.
It’s important to store your flashlight batteries safely to ensure they’re ready for use when needed. Keep them in a cool and dry place, away from direct sunlight. You should also periodically check the expiration dates on your batteries and replace them as needed.
I also encourage you to consider adding a solar-powered flashlight to your emergency preparedness supplies. Many solar flashlights can be powered with batteries or a built-in solar panel.
That’s a wrap for week five!
You can download week fives free printable HERE.
PLEASE SHARE!
Feel free to share my 72-Hour Kit Guide and weekly printables with your friends and family. Please spread the word about my website and email list when you share.
HERE is the link for you or your friends/family to sign up for my email list. When someone signs up for my email list, the very first email they get from me will include my Free Food Storage Guide!
Thanks so much for visiting my site and your interest in this 72-hour kit challenge! Putting together emergency evacuation kits for you and your families can feel very overwhelming. I want to help you with your preparedness goals and encourage you to keep working towards them!
xoxo,
Brittany