WEEK SIX: 12-Week 72-Hour Kit Challenge
Here on modernfoodstoragemama.com I am sharing with you how you can assemble bug-out-bags (72-Hour Kits) on a budget over the course of 12-weeks.
Whoop, whoop! We’ve successfully reached week 6 of the 12-week 72-Hour Kit challenge. We are halfway through this project; our 72-hour kits will be complete before we know it!
Putting together 72-hour kits (bug-out-bags) can be a daunting task. However, it is crucial to remember that you are doing this project to ensure your safety and that of your family in case of unforeseen emergencies. Being prepared for such situations will give you peace of mind.
If you’re looking to create 72-hour emergency kits without spending a large amount of money at once, it’s best to divide your purchases over time. To help you reach your goal of completing your kits, I’ve created a 12-week challenge. Each week of the challenge, I’ll recommend different products for you to buy for your kits. I recommend spending around $25 per week, and by the end of the 12 weeks, you’ll have enough supplies for two 72-hour emergency kits that will cover your basic needs in case of an emergency.
If you are looking for the information for weeks 1-5, you will find the links below:
Each blog post includes a link to a free printable to help you stay on track with the purchases/tasks for each week of the challenge.
I’ve also created a FREE 72-Hour Kit Guide, which you can sign up for HERE. This guide has printable packing checklists and additional information to help you with this project.
I will send you the 72-Hour Kit Guide via email. I generally send the guide twice a month in my monthly emails. However, if you’ve already signed up to receive these emails and would like to get the guide sooner, email me at brittany@modernfoodstoragemama.com and let me know. I am more than happy to send you the guide sooner.
FYI: The first email you will receive from me right after signing up for the guide/emails will be my FREE Food Storage Guide! I will send you the 72-Hour Kit Guide in a different email; you may have to check your spam folders to ensure my emails are sent elsewhere.
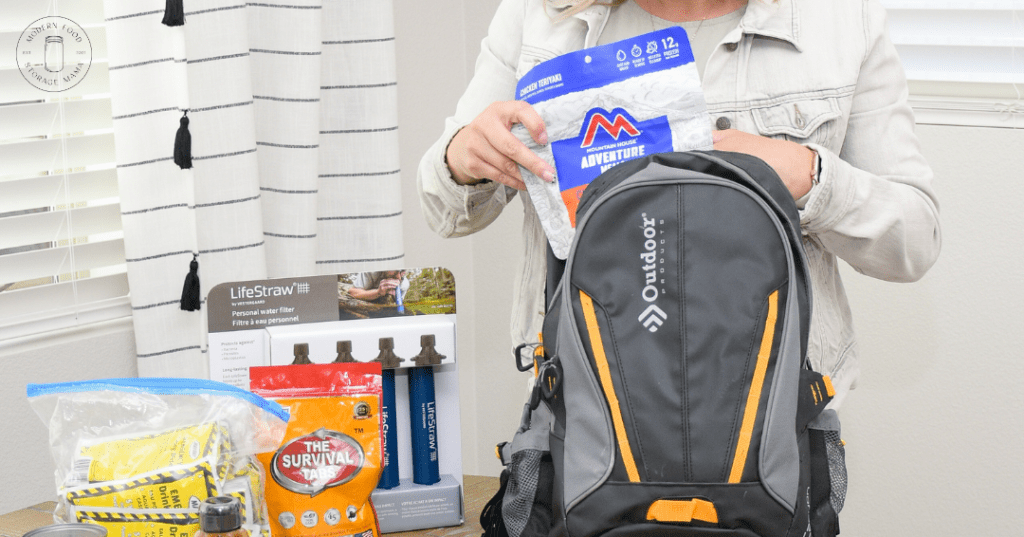
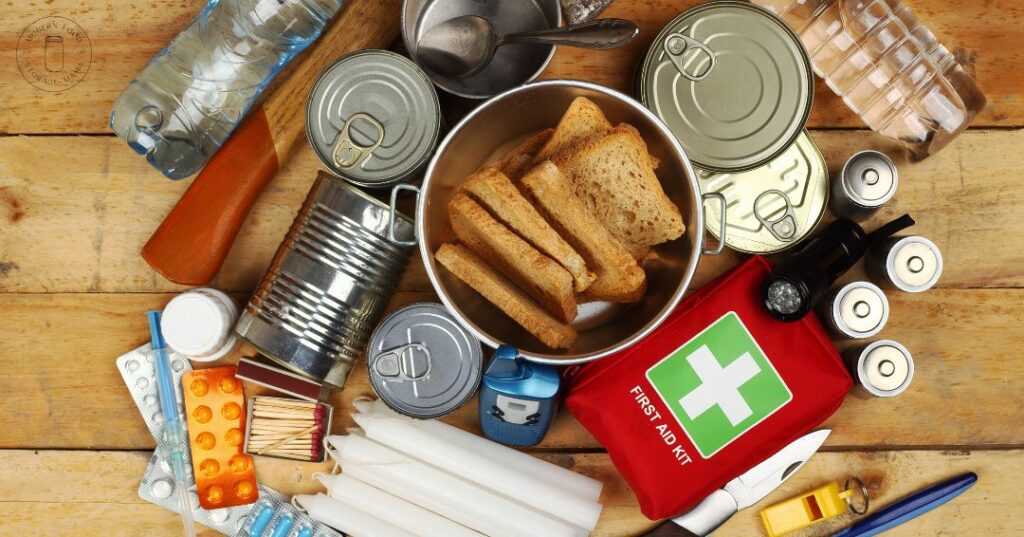
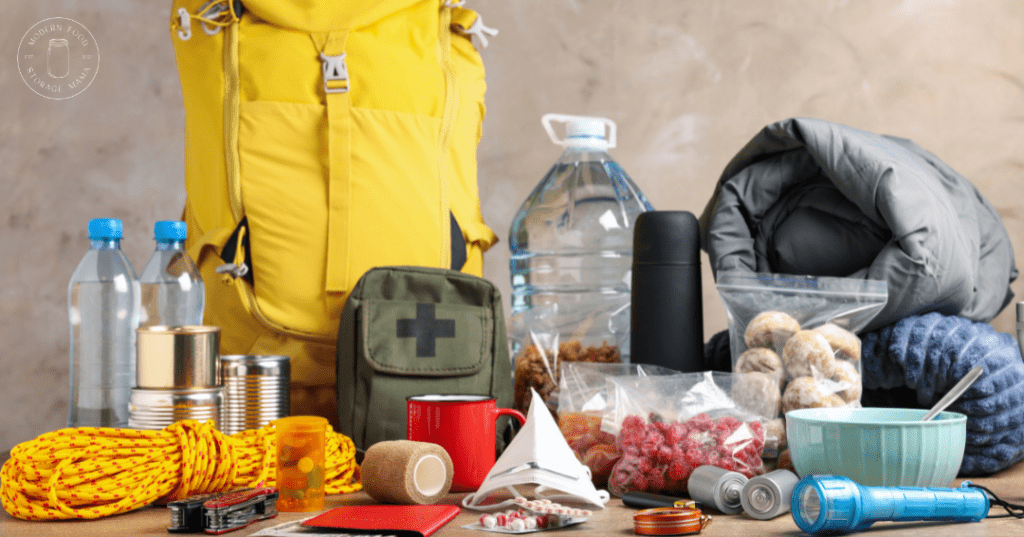
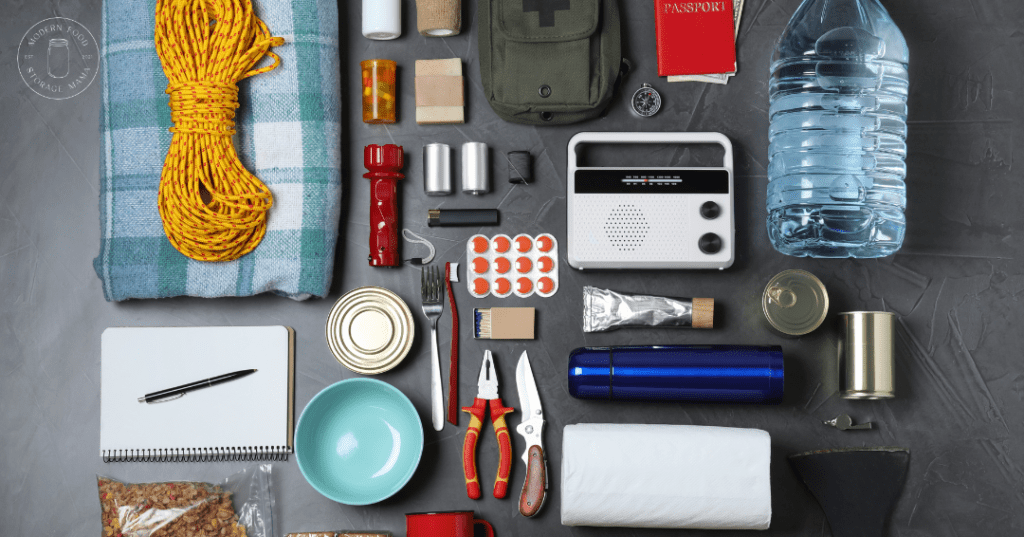
For week six of the challenge, we are focusing on stocking our kits with emergency foods.
Where should you get started when stocking your kits with food?
Including two types of foods in your 72-hour Kits (bug-out bags) is wise: short-term pantry staples and long-term survival foods.
Figuring out what foods to store in your kits can be tricky! I wrote THIS blog article with a list of foods I have in my family’s kits. In this article, you will find a free printable food list link to add to your 72-Hour Kit Guide or Emergency Preparedness Binder.
For my family’s kits, I have chosen foods with a shorter shelf life to have on hand as comfort foods and long-term survival foods to meet our caloric needs. I want to make sure my family and I are comfortable in an emergency, so I have a combination of snack foods, candy, freeze-dried meals, etc.
Of course, the foods we stock in our 72-Hour Kits aren’t the everyday meals we are accustomed to, but we can stock our kits with foods our family will be grateful to have in an emergency.
Let’s chat about some specific foods you can store in your kits-
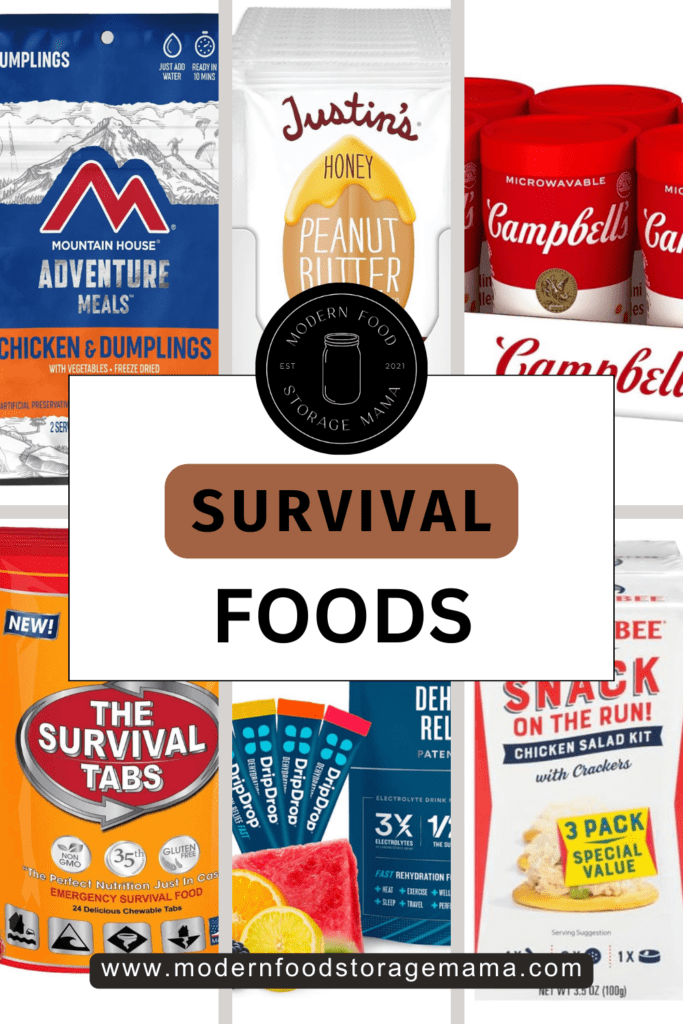
Survival Foods: [Long-term shelf-life]
Ensuring your emergency kit includes long-term survival foods is crucial in building your emergency kits. These foods are designed to last extended periods and provide essential nutrients when fresh options are scarce. Including long-lasting food options, like survival tabs, MREs, freeze-dried meals, fruits, and vegetables, is a great way to ensure your emergency foods are nutrient-dense and will meet your caloric needs.
Here are some survival foods for you to consider for our kits-
Water is essential for 72-hour kits, but it is challenging to pack enough. I recommend having emergency water and a water filtration straw. I also recommend using water pouches in your kits; they are easy to stuff into small spaces and take up less room than water bottles. Water pouches have a five-year shelf life and will not break or crack if the water becomes frozen.
*During WEEK THREE of the challenge, we discussed emergency water needs, and I encouraged you to buy emergency water for your kits.
Survival tabs are meal replacement tabs with a 25-year shelf life. They are non-GMO and gluten-free. Having these tabs in your 72-hour kit is a convenient way to get the nutrition you need in a compact form. These round chewable tabs are similar in texture to kids’ chewable vitamins.
Premade freeze-dried meals are nutritious and easy to prepare in an emergency. These foods can be made by just adding hot water. Many of these meals are pretty tasty! You want foods in your kit that provide you with a healthy meal, not just snack foods.
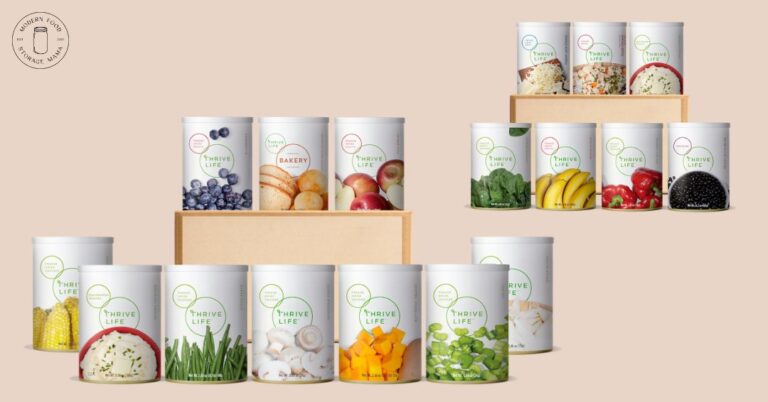
Freeze-dried Fruits/Vegetables-
Freeze-dried foods have an extremely long shelf life when left unopened. You can store these foods in your 72-hour kits for decades, and then if you need to eat the food in your kit, you will have healthy fruits and vegetables to eat.
Protein Powder Packets—Having packets of protein in your kit will provide you with a quick and easy source of protein. Many protein powders are shelf-stable for 4-5 years, making them a great option to add to your emergency foods.
NOTE: If you plan to include food in your kits that require hot water or heat to prepare, you will also need to purchase a backpacking mini folding stove and butane fuel. In the link below, you will find products for cooking in a power outage and outdoor emergency cooking!
***You will find my printable 72-Hour Kit Food list HERE!
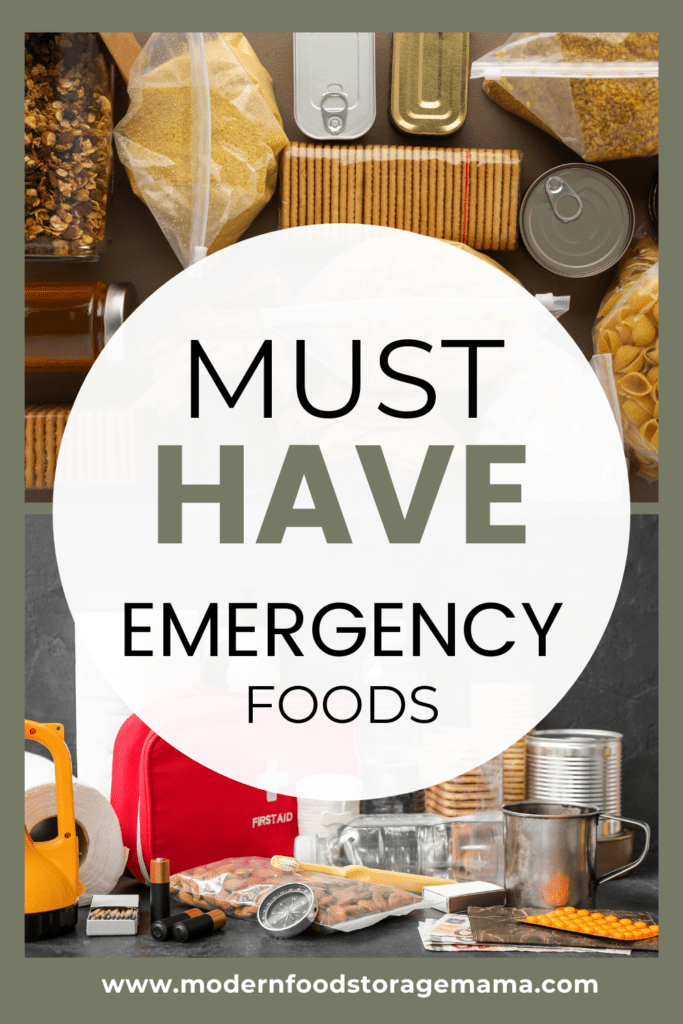
Pantry Foods/Snacks: [Short-term shelf-life]
When preparing your 72-hour kits, it’s a good idea to include pantry foods like granola bars, fruit snacks, canned fruit, etc. However, keep in mind that you will need to rotate these types of foods more often. To avoid frequent rotation, try to find foods with a shelf life of at least 12 months. Alternatively, you can opt to include only long-term survival foods in your kit, which will require less frequent rotation.
I like to include snacks and comfort foods in my family’s kit because, in an emergency, familiar foods can be a source of comfort and help maintain morale. You never know what kind of situation you might face, and having items like candy on hand can make a difficult situation a little easier to bear.
Access to electrolytes can help replenish your body with vital minerals and nutrients you could lose through sweating or other physical exertion.
Canned chicken and crackers are a good source of protein. These packets will provide a food option that feels more like a meal. Plus, they are easy to pack and transport.
Canned soup is a great way to have a high-calorie meal in your 72-hour kits. It is easily stored in your kit and is very portable. You could eat the soup cold if necessary.
Canned Fruit and Veggies–
Canned fruit and veggies will provide vital nutrition and can be eaten straight from the can. You can also drink the liquid from the can to help keep yourself hydrated.
Having snacks in your kits will provide you with comfort foods. In an emergency, you will want prepackaged foods. Quick snack foods with a long shelf life are great food items to add to your 72-hour kits.
Peanut butter provides protein and healthy fats. You can enjoy it straight from the jar or in single-serve pouches.
Hard candy is a sweet treat you can add to your 72-hour kits. In an emergency situation, you may need a quick source of sugar. Plus, having a treat around in a stressful situation, especially for young children, is a great idea.
It’s time to get to work on week 6 of this challenge!
For week 6 of this 12-week challenge, I encourage you to stock up on emergency foods for your kits. Also, search your home for foods you might already have on hand that you could put in your kits. If you don’t yet have emergency water, I highly recommend you at least put several plastic water bottles in each of your kits for now and stock up on Emergency Water Packets and some kind of water filtration option as soon as possible!
If you have just started the 12-week challenge or have fallen behind on the weeks, don’t worry! You can complete the challenge at your own pace. My advice to you is to keep working towards your goal week after week.
If you cannot purchase all the recommended items each week, that’s okay. You can take this challenge at your own pace. My advice is to keep going and not stop working on your kits. You can take longer to complete the kits if needed, but keep working on them. Keep adding to them week after week until you complete them!
I am so happy you are visiting my site! I would love for you to follow along on Instagram, where I regularly share tips on food storage and emergency preparedness.
Please contact me with any questions you have, and I will do my best to provide you with helpful answers!
You can email me at brittany@modernfoodstoragemama.com!
xoxo,
Brittany