WEEK NINE: 72-Hour Kit Challenge
*This post contains a FREE printable to help keep you on track with week 9 of this challenge; you can download the printable HERE!
In this blog article, you will find information about how to assemble 72-Hour Kits (bug-out-bags/evacuation bags) doing weekly tasks over 12 weeks; if this is your first time visiting my site, I HIGHLY recommend you sign up for my FREE 72-Hour Kit Guide and scroll down further in this post to read more about each of the week’s tasks/purchases for this 12-week 72-Hour Kit Challenge!
How are your 72-Hour Kits (bug-out bags) coming along? If you still need my FREE 72-Hour Kit Guide, sign up HERE; I will email you the guide.
If you have yet to receive the email with the 72-Hour Kit Guide or you have questions, please email me at brittany@modernfoodstoragemama.com.
It’s TIME to work on the week of NINE of this challenge!
*The links to the other weeks of this challenge are at the end of this post!
As part of our ongoing challenge this week, we will add additional supplies to our kits to better prepare for potential emergencies.
We are gradually adding to our essential survival supplies as we build our kits, tackling one weekly challenge at a time (take these weeks/tips/etc. at your own pace if necessary).
Feel free to take your time going through the checklists in my 72-Hour Kit Guide. If you want to assemble your kits quickly, go for it! I’ve divided the tasks into weekly challenges to make the project more manageable and spread the cost. In the 12-week challenge, you won’t be able to buy every item I have suggested in my free guide, but you can buy the essentials for your kits.
As you complete the challenge, please print out the checklists, check items off as you purchase them, and always look for any items on the list that you currently have in your home. Once you have completed the 12-week challenge, keep going through your lists and adding any items you don’t yet have. Remember, my lists are only suggestions; you can tailor your kits to your needs and preferences.
SOOOOO, what are we adding to our kits this week???
WEEK NINE!!!
We are adding a few items to our kits and performing some important tasks to help us be more prepared!
Let’s start by discussing what we will add to our kits this week.
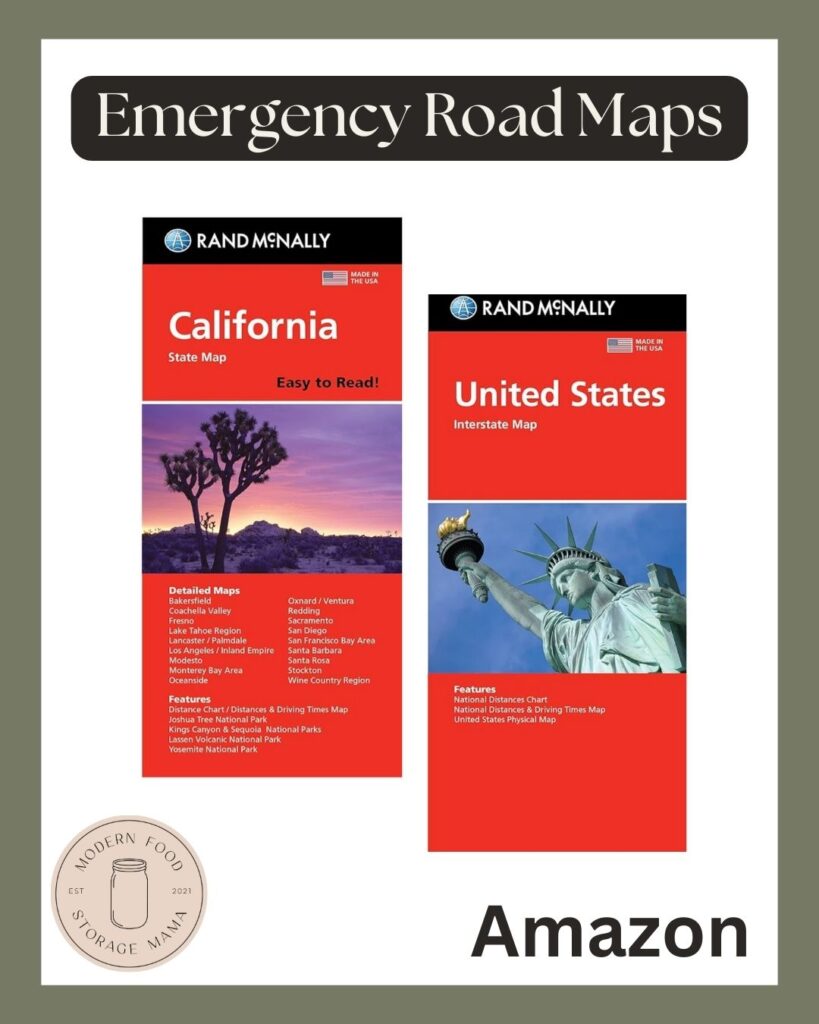
For week nine of the challenge, I want you to add a local (state) road map to your kit. You might also want to consider adding a US road map. For my family, I have only purchased maps for my kit and for my husband’s kit.
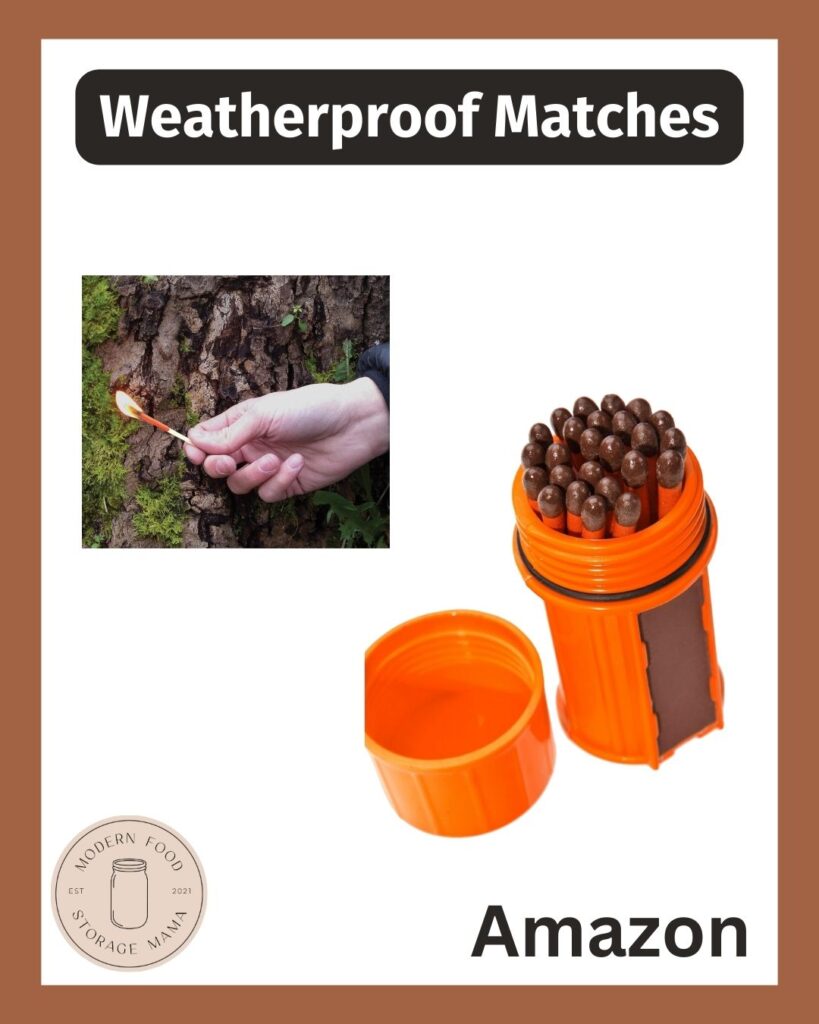
And if you don’t already have them, I want you to add waterproof matches to your 72-Hour Kits!
pssss—Also, it would be a really great idea to have a State and US Road Map in your vehicle’s glove box.
As for our tasks for this week’s challenge, there are three things I want you to do.
- Print out a family photo and put a copy in each of your 72-hour kits.
- Make a copy of your driver’s license/passport and put a copy in your 72-Hour Kits.
- Print out an Emergency Contact list; click on the link for the free printable. Fill out your emergency contact list and put a copy in each 72-Hour Kit. Make sure to include names/numbers/addresses/etc.
Also, I encourage you to print out an emergency contact list for each of your vehicles and put a copy in each car’s glove box.
ALRIGHT, friends, it’s time to get to work!
Please keep in mind that, having something prepared for emergencies is far better than having nothing prepared! I know that emergency preparedness, 72-hour Kits, food storage, etc., can feel incredibly overwhelming.
I want to remind you that you do not have to do everything all at once, I am a big believer in taking baby steps with emergency preparedness.
Here are the links to weeks 1-7 of the 72-Hour Kit Challenge-
Week ONE: This week, we focused on clothing for your kits. We spent no money on week one; we only searched our closets for clothing.
TWO: This week, we got bags to use or our kits, either by finding a bag you already had or by purchasing bags.
THREE: This week, we focused on Emergency Water!
FOUR: This week, we focused on toiletries. Can you imagine being in an emergency and not having a toothbrush and toothpaste for days? Yuck!
Search your home for toiletries you have on hand and could use in your kits. You may have some travel-size items left over from a recent trip.
FIVE: This week, we gathered first aid supplies, bought a first aid kit, searched our homes for a flashlight, or purchased a flashlight.
SIX: We started gathering or purchasing foods you can use in our kits this week.
SEVEN: We stocked our kits with an emergency whistle, an emergency blanket/sleeping bag, and an emergency tent.
EIGHT: We purchased Weather Radios (with a solar flashlight & ability to charge a phone) and rain ponchos for our kits.
This blog post about 72-Hour Kit Foods will help you as you start to gather and purchase foods for your kits.
REMINDER-
During the 12-week challenge, we are focusing on the essentials, so you will only have some of the suggested items by the end of the 12 weeks, but you will have the critical items. As for the more optional and fun items, like a deck of cards, etc, you can add those items to your kits once the challenge is complete (or now). I recommend having FUN things to do in your kits. I will be sharing a blog post about ideas for this in the future! First, we need to get the essentials for our kits squared away!
You got this, friend; keep at it, baby steps, one week at a time, and you will accomplish putting together 72-Hour Kits for you and your family!
xoxo,
Brittany


